In today’s fast-paced digital world, smartphones have become an essential part of our lives. To ensure optimal performance and security, it’s crucial to keep your smartphone’s software up to date. However, there are times when software issues or glitches may occur, requiring a manual upgrade or recovery process. In this article, we will guide you through the steps to manually upgrade and recover your smartphone software, empowering you to resolve common software-related problems and enhance your device’s performance.
Understanding the Need for Manual Software Upgrades and Recovery:
While most smartphones offer automatic software updates, there are instances when manual intervention becomes necessary. These situations include failed update installations, software crashes, or when your device is not receiving the latest software updates due to compatibility issues or limitations imposed by manufacturers or carriers. By learning how to perform manual software upgrades and recovery, you can take control of your smartphone’s software and ensure it functions optimally.
Step 1: Backup Your Data:
Before starting the software upgrade or recovery process, it is crucial to back up your data. This step will help you safeguard your important files, contacts, photos, and documents in case of any unforeseen issues during the process. You can back up your data by connecting your smartphone to a computer and transferring the files or by using cloud storage services.
Step 2: Check for Official Software Updates:
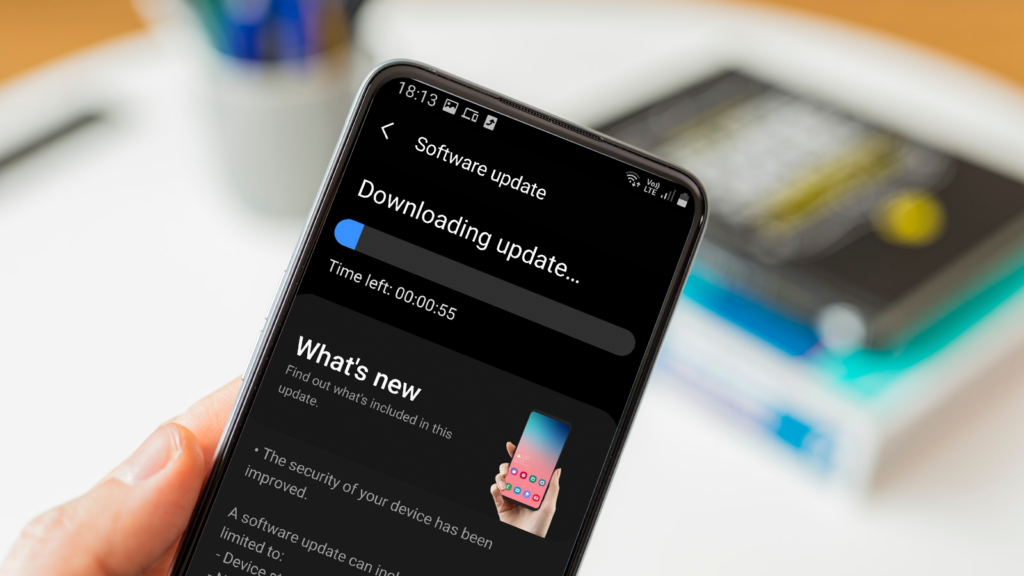
Before proceeding with a manual software upgrade or recovery, it’s important to check if there are any official software updates available for your smartphone. Manufacturers and developers regularly release updates to fix bugs, enhance security, and introduce new features. To check for updates, go to your smartphone’s settings and navigate to the “Software Update” or “System Update” section. If an official update is available, follow the on-screen instructions to install it. This step will help ensure you have the latest stable software version before attempting any manual procedures.

Step 3: Research and Download the Firmware:
If your smartphone does not have an official software update available or if you are experiencing specific issues that require manual intervention, you will need to research and download the firmware. Firmware is the software that operates your smartphone’s hardware and controls its functions. To find the correct firmware for your device, visit the manufacturer’s official website or reputable third-party websites that provide firmware downloads. Ensure that you select the firmware version suitable for your specific smartphone model and variant.
Step 4: Enable Developer Options and USB Debugging:
To proceed with the manual software upgrade or recovery process, you will need to enable the Developer Options and USB Debugging on your smartphone. These options allow you to interact with your device’s software and establish a connection between your smartphone and the computer. To enable Developer Options, go to your smartphone’s settings, scroll down to “About Phone,” and tap on the “Build Number” seven times. This action will unlock the Developer Options. Once unlocked, go back to the main settings menu, locate the Developer Options, and enable USB Debugging.
Step 5: Install Necessary Tools and Drivers:
Before connecting your smartphone to the computer, ensure that you have the necessary tools and drivers installed. For Android devices, you will need to install the Android Debug Bridge (ADB) tool on your computer. ADB allows you to communicate with your smartphone’s software through a command-line interface. Additionally, ensure that the appropriate USB drivers for your smartphone model are installed on your computer. You can obtain these drivers from the manufacturer’s official website or the Android developer website.
Step 6: Connect Your Smartphone to the Computer:
Once you have installed the necessary tools and drivers, connect your smartphone to the computer using a USB cable. Ensure that the connection is stable and that your smartphone is recognized by the computer. In some cases, you may need to select the appropriate USB connection mode on your smartphone, such as “File Transfer” or “MTP.”
Step 7: Launch the ADB Command Prompt:
To begin the manual software upgrade or recovery process, you will need to launch the ADB command prompt on your computer. On Windows, open the Command Prompt and navigate to the folder where the ADB tool is installed. On macOS or Linux, open the Terminal and navigate to the ADB tool’s location. Once in the correct directory, enter the ADB commands specific to your desired action, such as upgrading the firmware or recovering the software.
Step 8: Follow the Firmware Upgrade or Recovery Instructions:
Depending on the purpose of your manual.


